Geomembrane Installation Guide: Tools & Step-by-Step Process
Geomembranes are a cornerstone of modern civil and environmental engineering, providing essential containment and barrier solutions for a wide range of applications, from landfills to water reservoirs. While the geomembrane material itself is crucial, its effectiveness hinges on precise and meticulous installation. A poorly installed geomembrane can lead to leaks, environmental contamination, and costly repairs. This comprehensive guide will walk you through the essential tools, site preparation, and the critical step-by-step process for successful geomembrane installation, ensuring the longevity and integrity of your project.

Pre-Installation Planning and Site Preparation: The Foundation of Success
Before the first roll of geomembrane even arrives on site, thorough planning and meticulous site preparation are paramount. This phase dictates the success of the entire geomembrane installation.
Site Assessment: Conduct a comprehensive geological and geotechnical investigation. Understand the soil conditions, groundwater levels, and potential for settlement.
Design Review: Carefully review the project specifications, drawings, and quality assurance plan (QAP). Confirm the type of geomembrane (e.g., HDPE, LDPE), thickness, and specific installation requirements. Consider the overall containment systems desired.
Material Delivery and Storage: Plan for the efficient delivery and proper storage of geomembrane rolls. They should be stored on a level surface, protected from extreme temperatures, UV radiation, and physical damage.
Subgrade Preparation: This is arguably the most critical step. The subgrade, the foundation upon which the geomembrane rests, must be:
Smooth and Free of Debris: Remove all rocks, sharp objects, roots, and any foreign material that could puncture the liner. A fine-grained soil layer is often recommended.
Compact and Stable: Achieve the specified compaction density to prevent settlement and ensure long-term stability.
Graded for Drainage: Ensure proper grading to prevent water ponding beneath the liner, which can lead to uplift or differential settlement.
Vegetation Control: Eliminate all vegetation and apply herbicides if necessary to prevent future growth from penetrating the geomembrane.
Anchor Trench Excavation: Dig anchor trenches around the perimeter of the installation area according to design specifications. These trenches secure the edges of the geomembrane.
Essential Tools for Geomembrane Installation
A successful installation requires specialized tools and equipment. Ensuring these are on-site and in good working order is crucial for efficient and safe operations.
Heavy Equipment:
Excavators and Graders: For earthworks and precise subgrade shaping.
Compactors: For achieving the required subgrade density.
Forklifts or Cranes: For offloading and moving large geomembrane rolls.
All-Terrain Vehicles (ATVs) or Utility Carts: For transporting smaller tools and personnel across the site.
Geomembrane Deployment Tools:
Spreader Bars/Roll Cages: Used with cranes or forklifts to safely unroll large geomembrane panels.
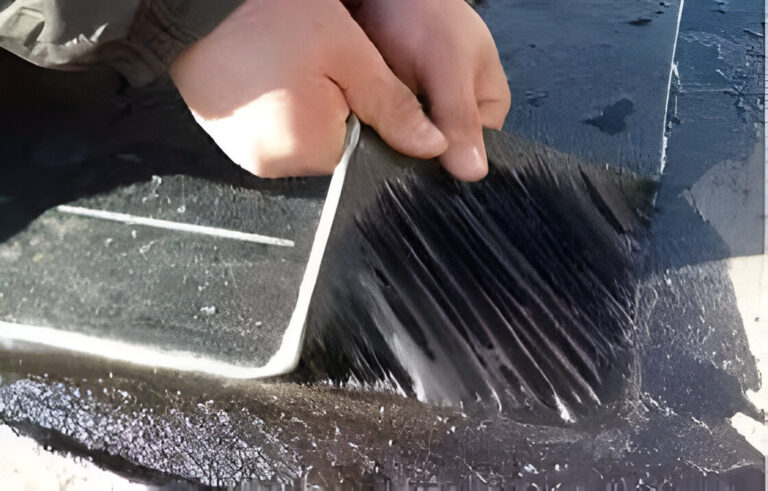
Manual Rollers/Broom Handles: For smoothing out wrinkles and achieving intimate contact with the subgrade.
Welding Equipment:
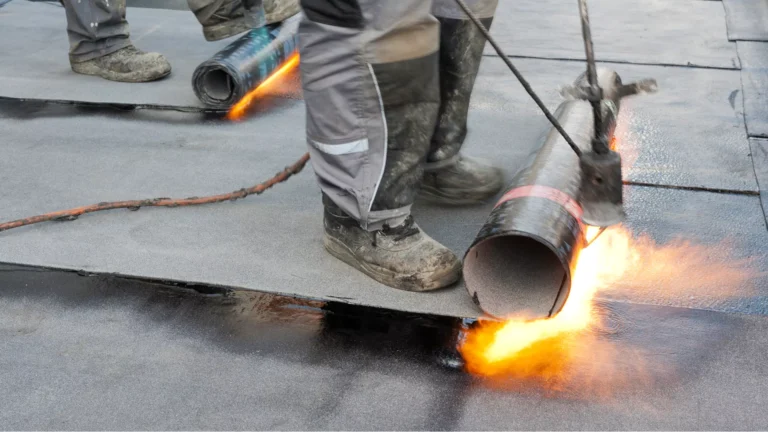
Hot Wedge Welders: The primary method for joining large geomembrane panels. These machines create a strong, continuous seam by melting and fusing the material with heat and pressure.
Extrusion Welders: Used for patch repairs, detailed work around penetrations, and joining geomembranes to structures. These introduce molten geomembrane material to form a bond.
Hot Air Guns: For preheating surfaces, cleaning, and some minor detail work.
Grinders/Routers: For preparing geomembrane edges before extrusion welding.
Testing and Quality Control Tools:
Air Pressure Testing Kits: For non-destructive testing of double-track hot wedge welds (inflating the air channel between the two weld lines).
Vacuum Box Testing Kits: For non-destructive testing of single-track welds and patches (creating a vacuum over a soapy solution to detect bubbles).
Spark Testers: For detecting pinholes or defects in electrically conductive geomembranes.
Tensile Testing Equipment: For destructive sampling to assess the strength of welded seams.
Peel Adhesion Testers: For destructive sampling to assess the bond quality of seams.
Micrometers/Thickness Gauges: For verifying geomembrane thickness.
General Hand Tools and Safety Equipment:
Utility knives, measuring tapes, markers, brushes.
Personal Protective Equipment (PPE): Hard hats, safety glasses, gloves, steel-toed boots, high-visibility vests.
First aid kits, fire extinguishers.
Step-by-Step Geomembrane Installation Process
With the site prepared and tools ready, the installation can commence. Adhering to each step meticulously is vital for optimal performance.

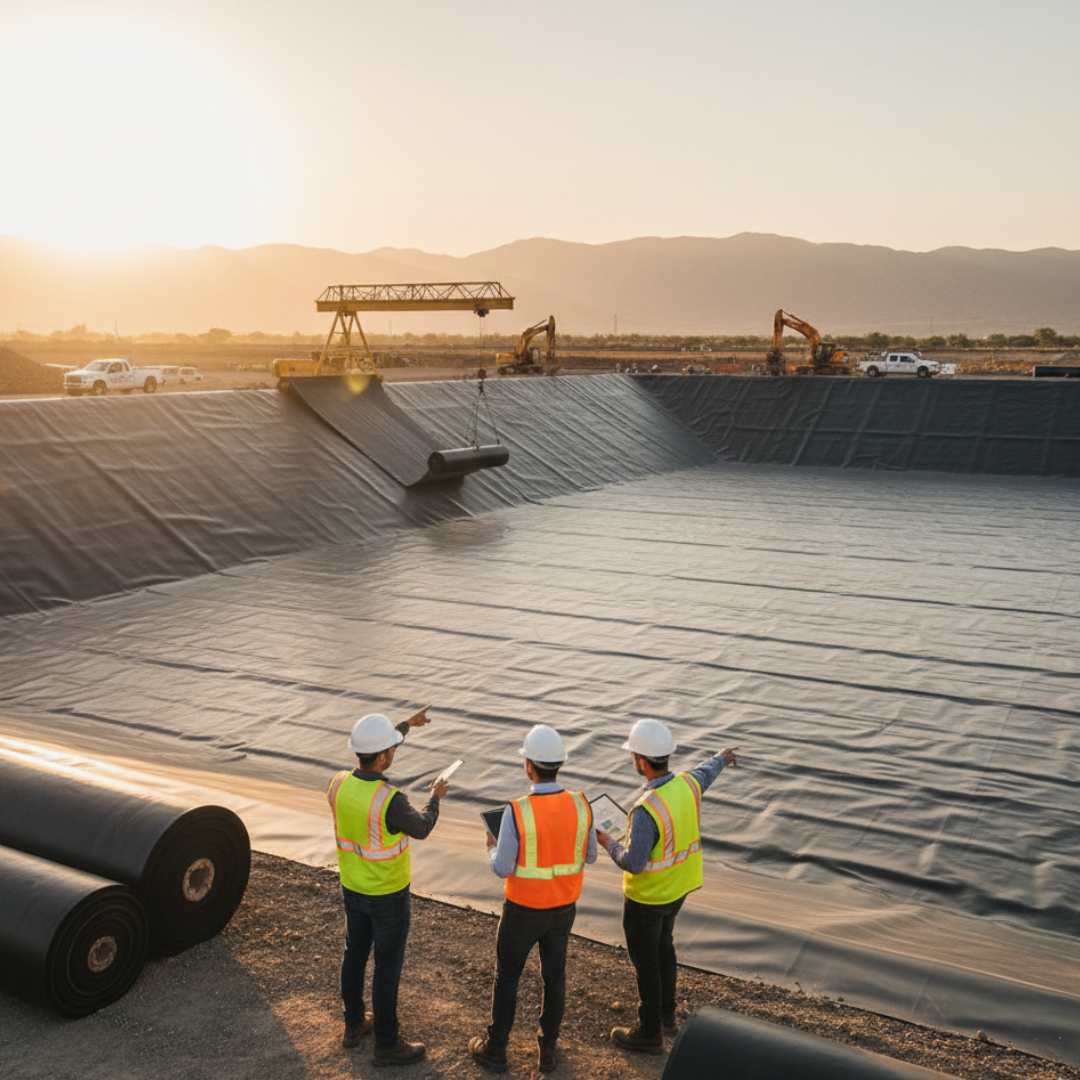
Panel Deployment
Unrolling: Carefully unroll geomembrane panels using a spreader bar or specialized equipment. Ensure the panels are deployed without stretching or damaging the material. Position the panels to minimize waste and optimize welding lengths.
Alignment: Overlap adjacent panels according to design specifications (typically 6 to 15 cm or 2 to 6 inches for welding). Ensure smooth alignment to facilitate welding.
Anchoring: Temporarily anchor panels with sandbags or other weights to prevent wind uplift. Do not use sharp objects that could damage the liner.
Wrinkle Management: As the geomembrane warms up, it will expand. Allow the material to relax and smooth out wrinkles before welding. Using soft brooms or rollers can help in flattening the panels for better contact with the subgrade.
Welding (Seaming)
This is the most critical stage of geomembrane installation, forming the continuous, impervious barrier.
Surface Preparation: Clean the overlap areas thoroughly, removing any dirt, dust, or moisture.
Hot Wedge Welding (Primary Method):
Set the hot wedge welder to the appropriate temperature, speed, and pressure for the specific geomembrane material and thickness.
Carefully guide the welder along the overlapped panels, ensuring a consistent, strong double-track weld with an unbonded air channel between them.
Monitor the weld visually for consistency and quality as it progresses.
Extrusion Welding (Detail Work):
Used for intricate shapes, pipe penetrations, and repairs where hot wedge welding is impractical.
Prepare the surfaces by grinding them clean and roughening them slightly for better adhesion.
Apply molten geomembrane material from the extrusion welder, fusing it to the existing liner.
Patching and Repairs: Any detected damage or defects must be repaired promptly using extrusion welding or by applying a geomembrane patch that extends well beyond the damaged area.

Anchor Trench Backfilling
Once the geomembrane panels are fully welded and tested, carefully place the edges into the pre-dug anchor trench.
Backfill the trench with compacted soil, ensuring the geomembrane is securely held in place. Proper backfilling prevents uplift and provides long-term stability to the liner edges. This is a key step for securing geomembrane liners.
Quality Assurance and Quality Control (QA/QC)
Robust QA/QC is essential throughout the entire process to confirm the integrity of the containment systems.
Visual Inspection: Continuously inspect all welds for defects such as unbonded areas, wrinkles, burning, or excessive squeeze-out.
Non-Destructive Testing (NDT):
Air Pressure Testing: Inflate the air channel of hot wedge welds to a specified pressure. A pressure drop indicates a leak.
Vacuum Box Testing: Apply a vacuum over a soapy solution on single-track welds or patches. Bubbles indicate a leak.
Spark Testing: For conductive geomembranes, a spark jumping indicates a hole.
Destructive Testing (DT):
Random samples of finished welds are cut from the installed geomembrane (which are then repaired).
These samples are sent to a laboratory for tensile testing (shear and peel adhesion tests) to verify seam strength and quality.
Ensure repair procedures for destructive samples are carefully followed.
Documentation: Maintain meticulous records of all QA/QC activities, including test results, daily reports, repair logs, and photo documentation. This provides a comprehensive project management record.

Post-Installation Protection
After successful installation and QA/QC, protecting the geomembrane is crucial, especially if it will be exposed for a period before being covered.
Protective Layers: If required by design, install a protective layer such as a geotextile cushion or a soil cover to shield the geomembrane from UV radiation, physical damage, and construction traffic.
Ongoing Monitoring: For certain applications, ongoing monitoring of the geomembrane’s performance may be necessary.
Conclusion
Effective geomembrane installation is a complex process demanding skilled personnel, specialized equipment, and unwavering attention to detail. From the initial site preparation to the final seam testing and documentation, each step contributes to the long-term success of the containment project. By adhering to industry best practices and a robust quality assurance program, engineers and contractors can ensure that geomembrane liners perform their vital role in environmental protection for decades to come.
FAQ’S
What is geomembrane installation?
Geomembrane installation is the process of laying high-density or low-density polymer sheets (HDPE/LDPE) to create a waterproof barrier for ponds, reservoirs, landfills, canals, or industrial containment systems. Proper installation ensures long-term leakage prevention and structural integrity.
What are the key steps in geomembrane installation?
The main steps include site preparation, subgrade leveling, panel deployment, welding (extrusion or hot wedge), seam testing, quality assurance, and geotextile placement. Each step is critical to ensure the geomembrane performs effectively.
How long does geomembrane installation take?
Installation time depends on the project size, sheet thickness, site conditions, and type of welding used. Small ponds may take a few days, while large reservoirs or landfill liners can take several weeks to complete.
Can geomembrane installation be done in all weather conditions?
Geomembrane sheets are sensitive to extreme temperatures and moisture during welding. Most installations are done in dry conditions with moderate temperatures. Special procedures may be required in very hot, cold, or wet environments.